Espresso Checklist for Newbies:
- Espresso Machine: Semi-automatic with 9 bars of pressure and steam wand (if you want to froth milk).
- Fresh Beans: Buy whole beans roasted within the last 1-2 weeks. Aim for a dark roast for espresso.
- Burr Grinder: For consistent grind size (aim for a fine, table-salt-like texture).
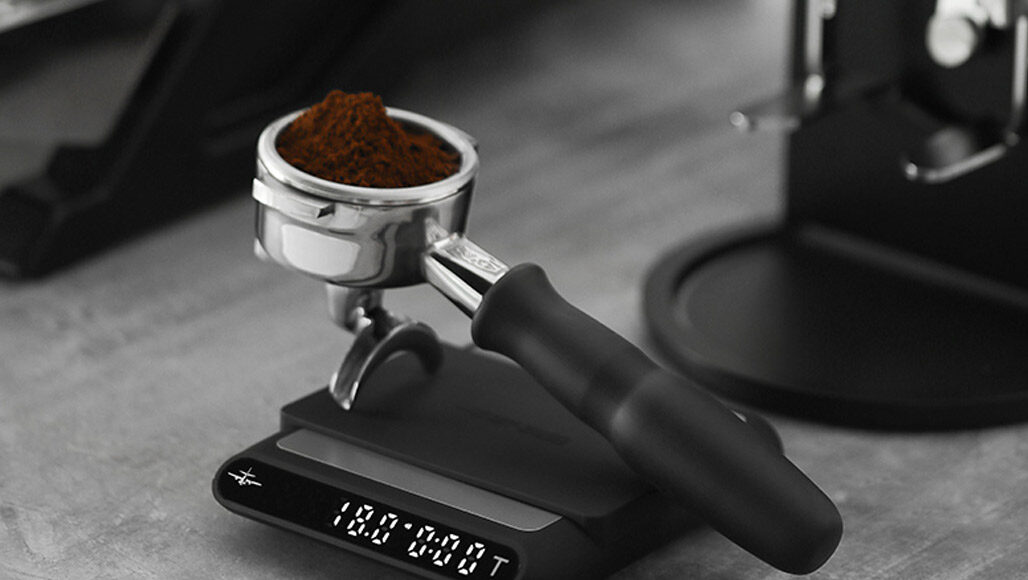
- Scale: To measure your coffee dose accurately (9-11g for a single shot, 18-20g for a double).
- Tamping Tool: To ensure an even, solid tamp (around 30 pounds of pressure).
- Timer: To track your shot timing (25-30 seconds is ideal for extraction).
- Good Water: Clean, filtered water to make sure your shot tastes as good as it should.
Now that you’ve got the checklist, let’s walk through each one and break it down.
1. The Espresso Machine: Not Just Any Old Coffee Maker
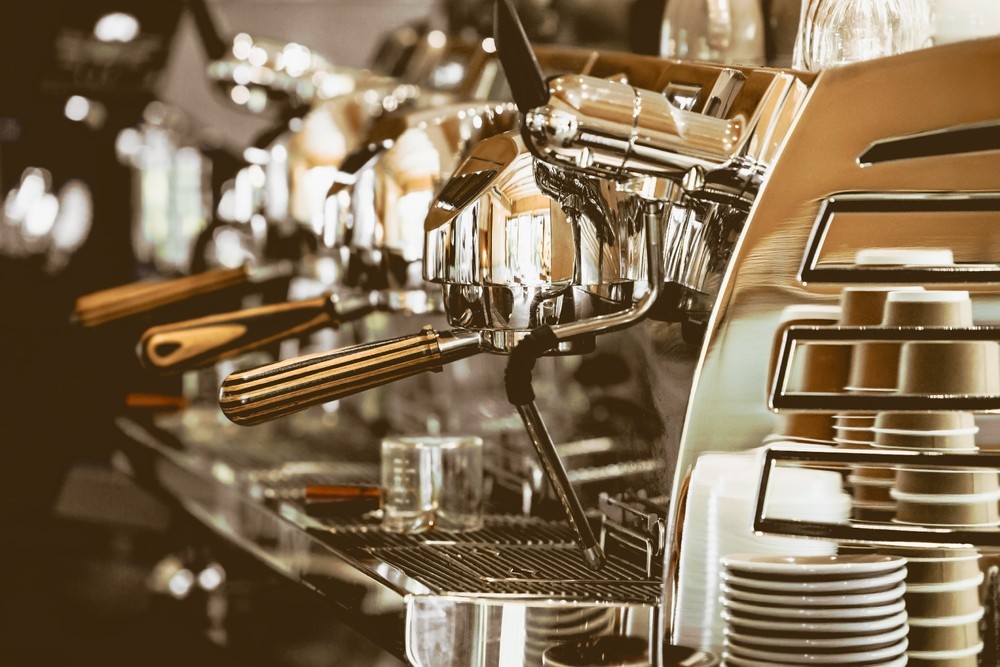
Okay, let’s start with the basics: you need a real espresso machine. I learned this the hard way. You can’t make a proper espresso with your standard drip machine. You’ll need something that can pull the right pressure (9 bars), and semi-automatic machines are perfect for that. They give you control but don’t make you feel like you’re running a chemistry lab. If you plan on making lattes, cappuccinos, or just love a creamy shot, make sure it has a steam wand. Trust me, once you’ve froth your milk at home, you won’t go back to the café.
2. Fresh Beans Are Non-Negotiable
I cannot stress this enough: fresh beans are everything. If you use pre-ground coffee, you’re pretty much setting yourself up for a mediocre shot. I made this mistake too many times before realizing that buying freshly roasted, whole beans really makes a huge difference in flavor.
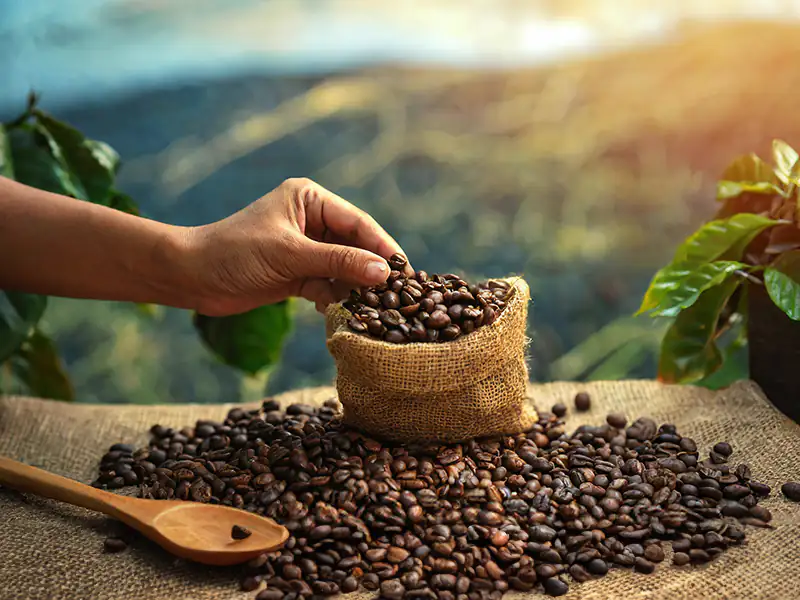
Also, don’t buy beans that have been sitting on the shelf for months. Get something roasted within the last 1-2 weeks. When you grind it yourself just before brewing, you’re going to notice the difference in taste. I always look for dark roasts for espresso, but if you want to get creative, try different beans that suit your flavor preference.
3. Get the Right Grind
Here’s where most people trip up. Grind size is key when making espresso. I’ve had my fair share of messed-up shots because my grind was off. Too fine, and the shot’s bitter; too coarse, and the shot is watery and weak.

For espresso, you want a fine grind, something like granulated sugar. A burr grinder is your best friend here. You want consistency, and burr grinders give you just that, unlike blade grinders. This was a game-changer for me, and once I dialed in my grind, my shots became a lot more predictable and delicious.
4. Measure Your Coffee (Precision is Key)
When I first started, I used to just eyeball it. “Oh, that looks like enough coffee for one shot.” Nope. Measure your coffee. Seriously. For a single shot, aim for 9–11 grams of coffee, and for a double shot, it’s 18–20 grams.
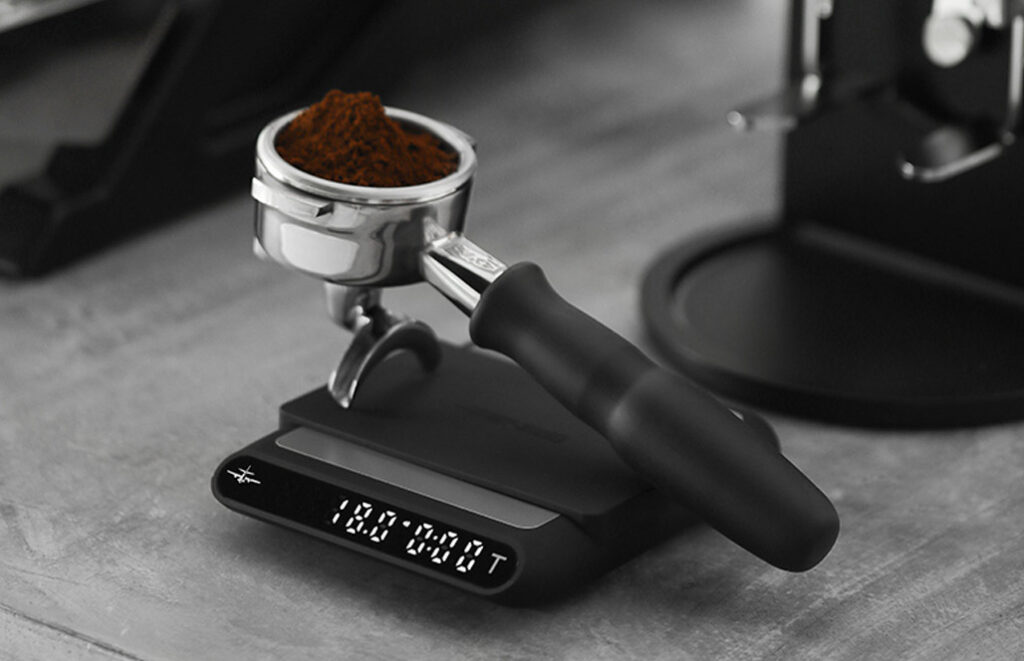
I picked up a cheap digital scale, and honestly, it was a game-changer. No more guessing. It doesn’t matter if you’re brewing one shot or two, having the right dose ensures consistency in every shot. And once you start weighing, you’ll realize how much of a difference it makes.
5. Tamping with Purpose
I can’t tell you how many times I tamped incorrectly when I was starting out. Just pressing down and calling it a day. That’s not the way to do it. Tamping is all about applying even pressure to make the coffee level and compact. You want about 30 pounds of pressure, which is roughly the force of a firm press.
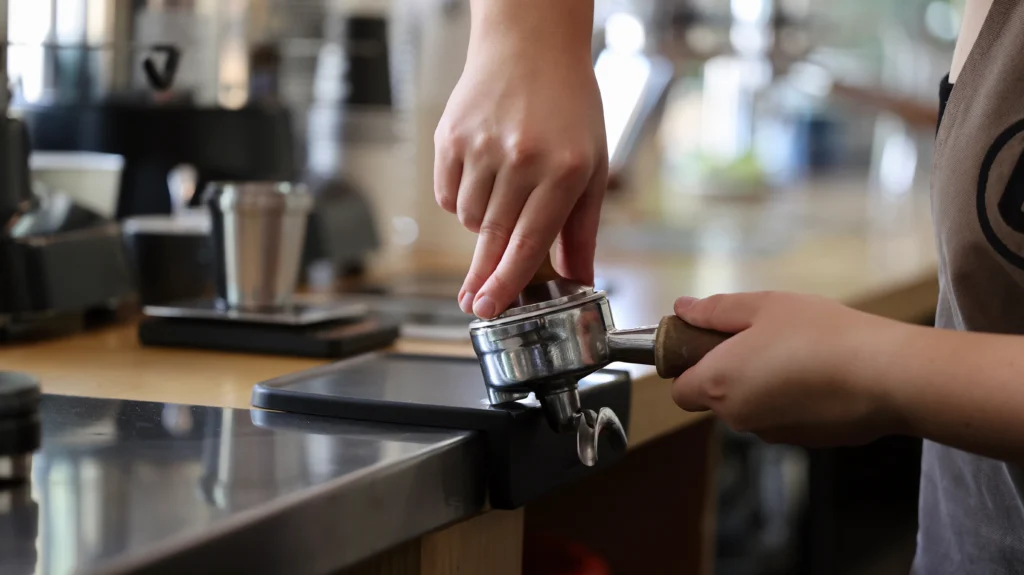
I use a tamper that’s the same size as my portafilter basket so I can get an even, solid tamp every time. A good tamp ensures that the water flows through your coffee evenly, which is critical for pulling a balanced shot. Take your time here. It’s not just about pressing the coffee; it’s about getting it level, so the water flows evenly through the grounds.
6. Pull the Shot: Timing Is Everything
Here’s the fun part: pulling the shot. You’ve done all the hard work up until now, and now it’s time to see it all come together. When you lock the portafilter into the machine, start the shot. You’re aiming for about 25-30 seconds for extraction.
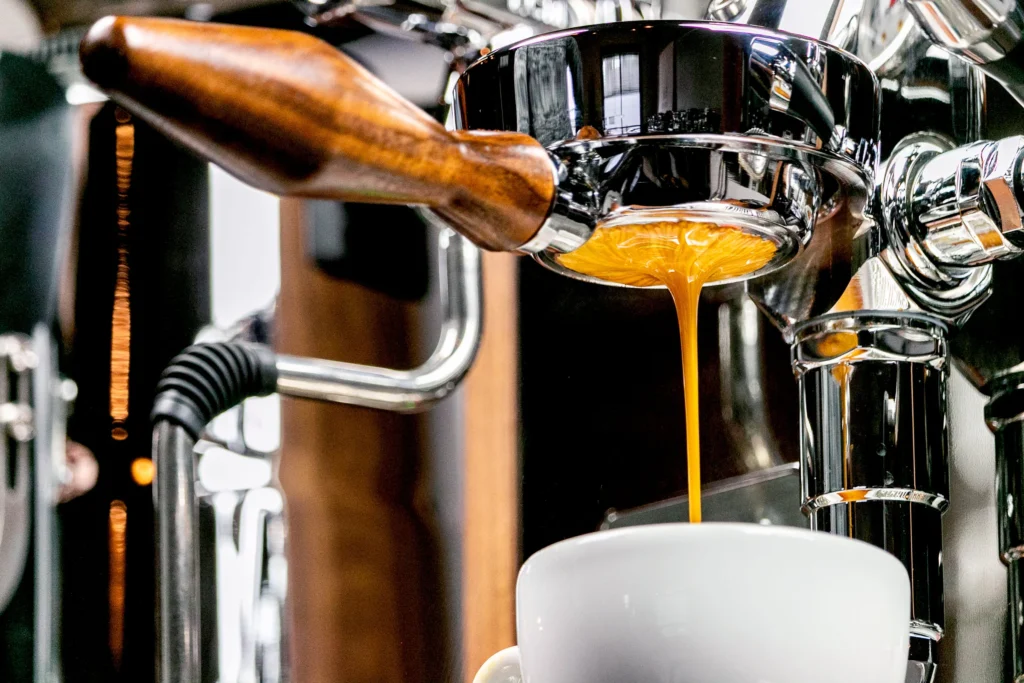
What you’re looking for is a nice crema that forms on top of the shot. It should be golden and velvety, not bubbly or thin. If it’s coming out too fast, the grind’s too coarse. If it’s too slow, it’s too fine. And if the crema doesn’t look right, go back to adjusting the grind or tamp.
7. Practice, Practice, Practice
You know how people always say, “Practice makes perfect”? Well, espresso is no different. I swear, the first few shots I made were barely drinkable. But each shot taught me something new. I adjusted the grind, tweaked the tamp, and figured out the timing. Eventually, I started pulling shots that were actually good.
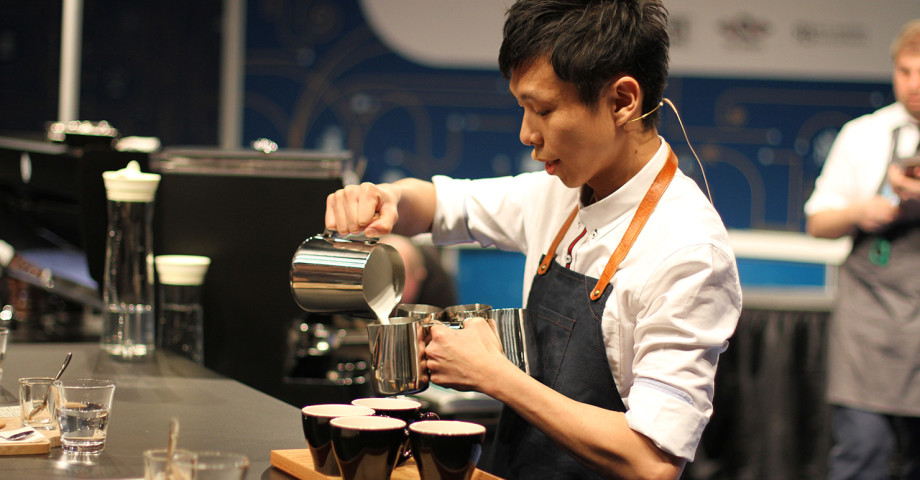
I’d recommend starting with a few test shots just to figure things out. Once you feel comfortable with your machine, grind, and tamp, you’ll start hitting your stride.
Final Thoughts
Espresso may seem intimidating at first, but with a little practice and the right gear, it’s completely doable at home. The most important thing is getting the basics down: fresh beans, the right grind, accurate measurements, and a firm tamp. Once you’ve got those nailed, you’ll start pulling shots that will impress yourself—and anyone who’s lucky enough to sip one of your brews.

So, grab that espresso machine, grind some fresh beans, and start dialing in your perfect shot. Before long, you’ll be brewing like a pro—and hey, you might even stop by the café just to show off what you’ve learned.journey of learning and improving. So, have fun with it, and soon enough, you’ll be pulling shots like a pro.
