Summary Checklist:
- Choose the Right Equipment
- Get Fresh, High-Quality Coffee Bean
- Steam the Milk Properly
- Pull a Good Shot of Espresso
- Pour and Combine the Espresso and Milk
- Enjoy Your Creation!

Making a latte at home doesn’t require any magic or professional barista skills—just the right tools, a little practice, and a bit of patience. The best part? It’s way easier than you think to create that creamy, delicious coffee drink in the comfort of your own kitchen. Over the years, I’ve honed the process of making a great latte at home, and let me tell you, it’s definitely become one of my favorite parts of the day.
Here’s how you can make a latte like a pro barista, starting with the basics and working your way up.
Step 1: Get the Right Equipment
First things first: you don’t need a fancy, high-end espresso machine to make a good latte at home. That said, having the right equipment makes all the difference. At the very least, you’ll need an espresso machine (preferably one with a steam wand), a coffee grinder, and a milk frother. If you have an espresso machine with a steam wand, you’re already in business. But even if you don’t, there are other ways to froth milk.
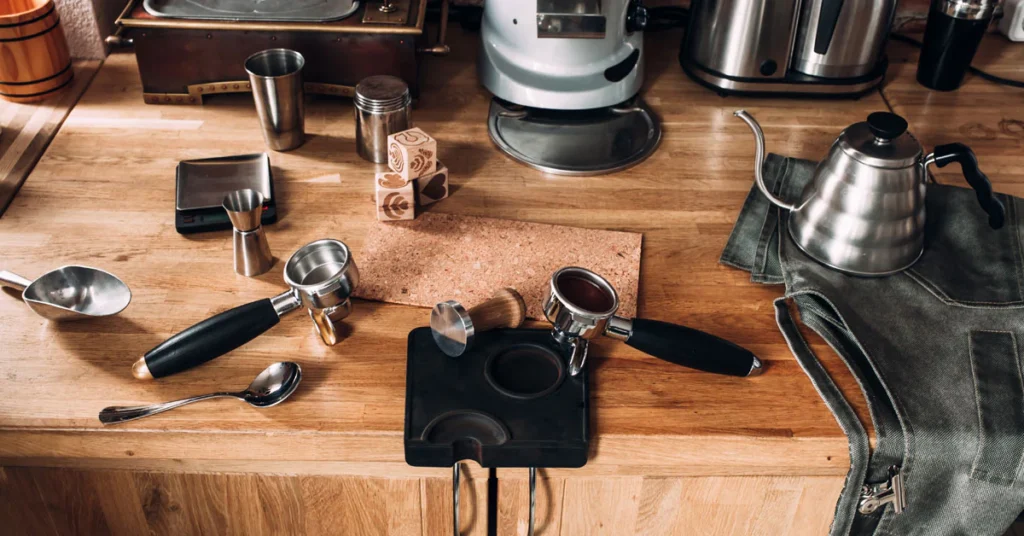
I started out with a cheap espresso machine and a manual milk frother. It wasn’t the fanciest setup, but it worked fine until I got the hang of things. As I upgraded my gear over time, I found that a grinder with a consistent grind really made a big difference in the taste of the espresso, and I definitely noticed the change when I started steaming milk properly with a steam wand.
Step 2: Get Fresh Coffee Beans
This is probably the most important step. If you’re using pre-ground coffee, you’re missing out on a key part of making a great latte: freshness. Coffee starts to lose its flavor as soon as it’s ground, so investing in a good burr grinder is a smart move.

I usually go for a medium or medium-dark roast because it gives a nice balance of rich, smooth flavor with just a touch of bitterness. Espresso blends often work best for a latte since they’re made specifically for that purpose. But honestly, you can experiment with different beans to find what you like best. The trick is making sure that the grind is fine enough for espresso, but not too fine that it clogs the portafilter.
Step 3: Steam the Milk
Once you’ve got your fresh espresso shot ready to go, it’s time to steam the milk. The goal here is to create that creamy, silky texture that makes a latte so special. If you’ve never steamed milk before, it might seem a little tricky at first, but don’t worry—you’ll get the hang of it.
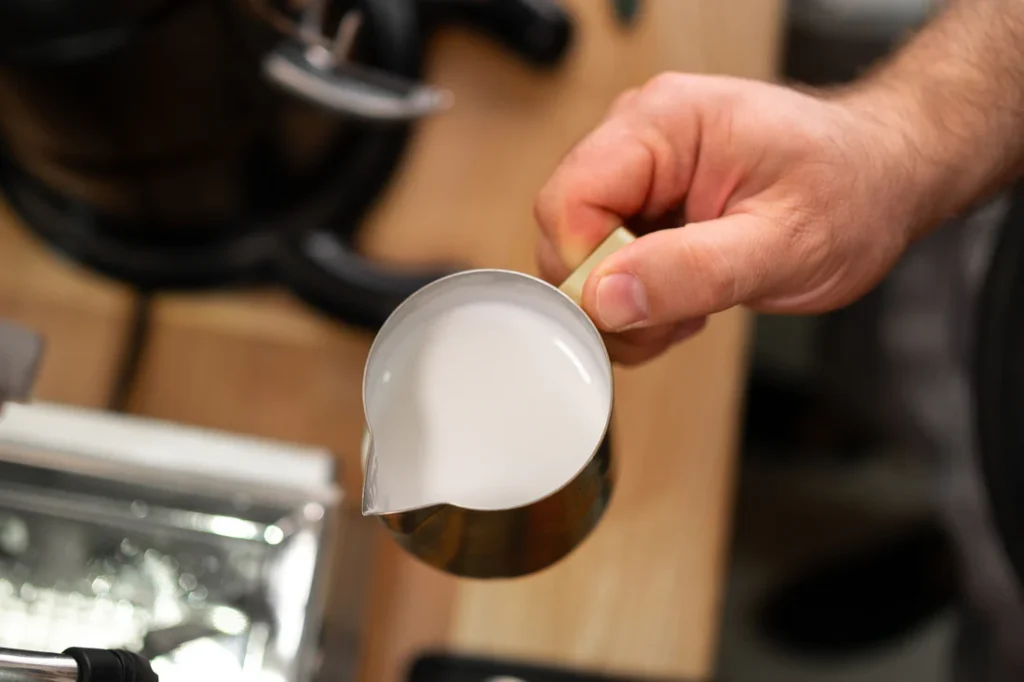
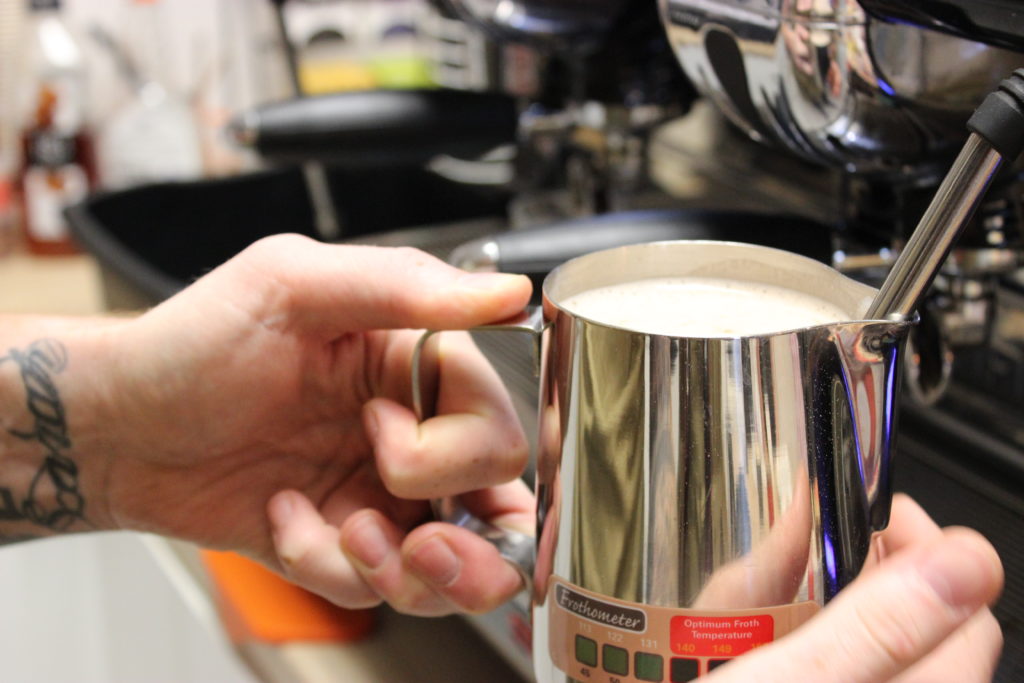
If you’re using a steam wand, stick the tip just below the surface of the milk and turn on the steam. It should make a soft hissing sound—this is what helps create the bubbles that form microfoam. Don’t submerge the wand too deep; you want to hear that little hiss and feel the milk swirling.
The milk should reach about 150°F (65-70°C), and you should feel the pitcher getting warm to the touch. You’ll also notice the texture starting to change as the milk froths. After you’ve finished steaming, give the milk pitcher a little swirl to break up any big bubbles and give it that smooth, silky texture.
If you don’t have a steam wand, no worries—you can still make a good latte! Just heat the milk in a saucepan on the stove (don’t let it boil), then use a hand frother to get that creamy texture. It won’t be quite the same as steamed milk, but it’ll still do the job.
Step 4: Pull a Good Shot of Espresso
Now, it’s time for the star of the show: the espresso. A good shot of espresso is the foundation of a great latte, so take your time here. You want a nice, smooth shot with a rich crema on top. Crema is that golden, foamy layer that forms when the espresso is pulled properly—it’s a sign of freshness and a well-made shot.

To pull the shot, make sure your portafilter is packed evenly with coffee grounds (this is called tamping). Use firm pressure to tamp the coffee down evenly and tightly so that the water can flow through it properly. Once it’s in the machine, a good shot should take about 25-30 seconds to pull, depending on your grind and tamping pressure.
If your espresso comes out too quickly or is too watery, it could mean your grind is too coarse or you didn’t tamp it enough. If it’s too slow or bitter, the grind might be too fine, or you might have tamped too hard.
Step 5: Pour and Combine the Espresso and Milk
Once the espresso shot is pulled, it’s time to combine it with your steamed milk. This is where things get fun. If you’re feeling fancy, you can try to pour the milk in a way that creates latte art (a heart, a rosette, or even a leaf!). But if that’s not your thing, don’t stress—it’s all about the taste.

To pour, hold your milk pitcher just above the cup and pour slowly in a circular motion. As you get closer to the cup, pour a little faster, allowing the milk to mix with the espresso and create that beautiful marbling effect. If you’re not worried about latte art, just pour it in and enjoy.
Step 6: Enjoy Your Latte
And there you have it: your homemade latte! Take a moment to admire your handiwork. Maybe give it a little sprinkle of cinnamon or cocoa powder for some extra flavor, or just sip it and savor the creamy, comforting goodness.

Making lattes at home is one of my favorite little rituals. It doesn’t matter if it’s a busy weekday morning or a lazy Sunday afternoon—it’s always a treat. And the best part? Once you get the hang of it, it’s way cheaper than grabbing one at a coffee shop, and you can make it exactly how you like it.
So, next time you’re in the mood for a latte, give it a shot at home. With the right tools, a little practice, and some patience, you’ll be making coffeehouse-quality lattes in no time.
